Physical Address
304 North Cardinal St.
Dorchester Center, MA 02124
Physical Address
304 North Cardinal St.
Dorchester Center, MA 02124

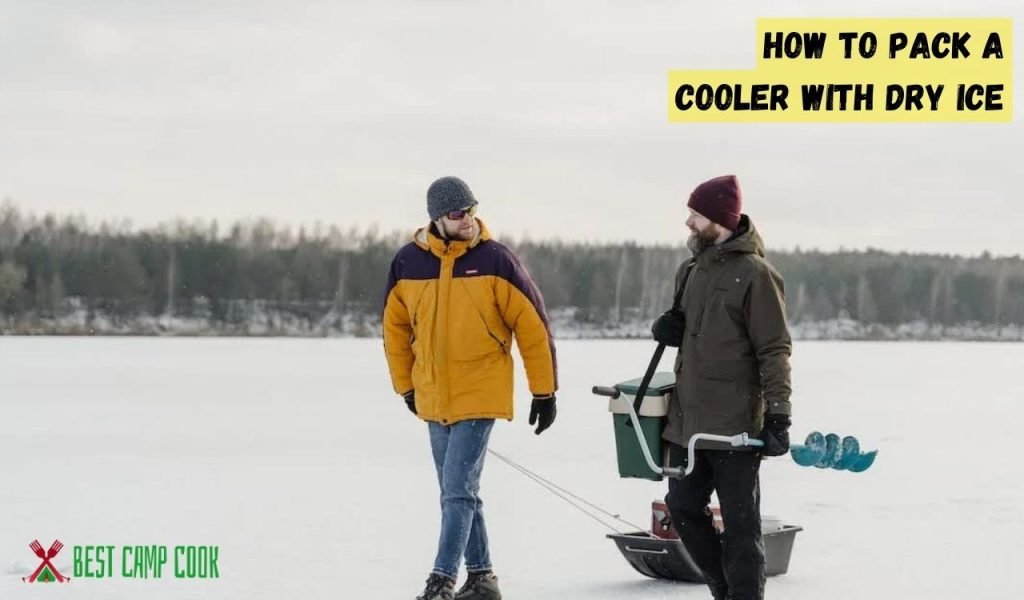
How to use dry ice in a cooler for camping? Look no further! In this guide, we’ll show you exactly how to use dry ice in your cooler for camping. Say goodbye to melted messes and hello to frosty refreshments.
Excited? Let’s dive in and unlock the secrets of maximizing chill during your outdoor adventure. Get ready to keep your food and drinks colder than ever before.
It’s time to elevate your camping experience with the power of dry ice in your cooler. So, let’s jump right in and learn how to use dry ice in a cooler for camping like a pro!
Main Summary: How to Use Dry Ice in Cooler for Camping?
To use Dry Ice in the cooler for camping, obtain 5-10 lbs of dry ice, prep a well-insulated cooler, layer with ice packs, add dry ice, pack frozen items tightly, insulate with towels, and monitor for 18-24 hours. For safety wear gloves, use in ventilated areas, and store in coolers made for dry ice.

Camping trips are an exciting adventure, but keeping your food and beverages cold can be a challenge, especially when you’re far away from modern refrigeration. However, with the right knowledge and some careful planning, you can effectively use dry ice in your cooler to keep your food frozen and ensure a delightful camping experience. In this article, we will explore what dry ice is, how to pack a cooler with dry ice, and how to keep your food frozen while camping.
When it comes to keeping your perishable items frozen and your drinks icy cold, dry ice can be a game-changer. Unlike regular ice, dry ice doesn’t melt into a liquid form, allowing for longer-lasting cooling effects. However, packing a cooler with dry ice requires proper handling and precautions to ensure safety. In this section, we will guide you through the process of packing a cooler with dry ice effectively.
Dry ice is the solid form of carbon dioxide (CO2) and is extremely cold, reaching temperatures of -78.5 degrees Celsius (-109.3 degrees Fahrenheit). It doesn’t melt like regular ice but sublimates, meaning it turns directly from a solid to a gas. This unique property makes it an excellent choice for keeping items frozen without the risk of water accumulation.
Before proceeding with packing your cooler with dry ice, it’s crucial to understand and follow some safety precautions:
Before packing your cooler, acquire the required amount of dry ice from a reputable supplier. Plan the quantity based on the size of your cooler and the duration you intend to keep your items frozen. It’s generally recommended to use 5 to 10 pounds of dry ice per 24-hour period, depending on the size of the cooler.
Ensure your cooler is clean, dry, and in good condition. Remove any remnants of previous ice or debris. It’s best to use a cooler that is well-insulated to maximize the longevity of the dry ice’s cooling effect.
Begin by placing a layer of regular ice or ice packs at the bottom of your cooler. This helps to create a buffer between the dry ice and your perishable items, preventing direct contact and potential freezing.
Using insulated gloves or tongs, carefully place the dry ice on top of the layer of regular ice. Ensure the dry ice is evenly distributed and covers the entire surface area.
Now it’s time to add your frozen or refrigerated items on top of the dry ice. Place them in a way that minimizes air gaps and allows for efficient cooling. It’s best to place the most perishable items closer to the dry ice to ensure they stay cool in camping for longer.
To maximize the effectiveness of the dry ice, insulate your cooler well. Fill any empty spaces with towels, newspapers, or additional insulation material to prevent warm air from entering and cold air from escaping. Ensure the cooler lid is tightly sealed to maintain the cold temperature.
Dry ice can typically last anywhere from 18 to 24 hours, depending on the external temperature and the quality of insulation in your cooler. Consider using coolers with thicker walls or adding extra insulation if you require longer cooling periods.
During usage, remember the following safety measures:

Camping trips are a wonderful opportunity to connect with nature, but keeping your food frozen and fresh can be a challenge. However, with a few smart strategies and careful planning, you can ensure that your food stays frozen and safe to eat throughout your camping adventure. In this section, we will explore effective techniques to keep your food frozen while camping, allowing you to enjoy delicious meals even in the great outdoors.
Before embarking on your camping trip, proper preparation is key to keeping your food frozen. Follow these steps to ensure your food remains chilled and safe:
One of the most effective ways to maintain the frozen state of your food is to pre-freeze it before packing for the trip. Place perishable items such as meat, vegetables, and dairy products in the freezer well in advance. Freezing them thoroughly will help them stay cold for a longer duration in your cooler.
Once your food items are fully frozen, transfer them to sealed bags or airtight containers. This step not only prevents cross-contamination but also helps preserve the cold temperature by minimizing air exposure.
Properly packing and organizing your cooler is essential to maximize its freezing capabilities. Follow these guidelines to keep your food frozen and organized:
Start by placing a layer of ice packs or frozen gel packs at the bottom of your cooler. This layer acts as a foundation for keeping your food cold. On top of the ice packs, add a layer of frozen food items, ensuring they are tightly packed to minimize air gaps.
To maintain the frozen state of your food, it’s important to separate it from other items. Place perishable frozen items together in one section of the cooler, and non-perishable items like drinks and snacks in another section. This organization minimizes the need to open the cooler frequently, preserving the cold temperature.
To ensure that your cooler retains its freezing capability for as long as possible, consider implementing the following strategies:
Insulating your cooler can significantly improve its freezing efficiency. Cover your cooler with a thick blanket or a reflective tarp to provide extra insulation. This helps to prevent heat from entering and cold air from escaping, prolonging the frozen state of your food.
Every time you open the cooler, warm air enters, compromising the cold temperature inside. Plan your meals and snacks in advance to minimize the need to open the cooler frequently. By retrieving everything you need at once, you reduce exposure to warm air and help maintain the frozen state of your food.
Take advantage of nature’s cooling properties by positioning your cooler in shaded areas away from direct sunlight. Additionally, avoid placing the cooler on hot surfaces, such as asphalt, as it can expedite the thawing process. Keeping your cooler cool by leveraging natural shade can significantly extend the frozen lifespan of your food.
When using dry ice, selecting the right cooler is crucial for maintaining optimal cooling conditions. A well-insulated cooler helps preserve the sublimation process of dry ice, ensuring your items remain frozen for an extended period. Here’s what to consider when choosing the perfect cooler:
Look for a cooler with thick, high-quality insulation. This insulation will help prevent the entry of external heat and maintain the cold temperature inside, maximizing the effectiveness of the dry ice.
Consider the size and capacity of the cooler based on your specific needs. A larger cooler will accommodate more dry ice and food items, while a smaller one may be more portable and easier to carry.
Opt for a cooler made from durable materials that can withstand the rigors of outdoor activities. A sturdy cooler will not only protect your items but also ensure the longevity of your dry ice.
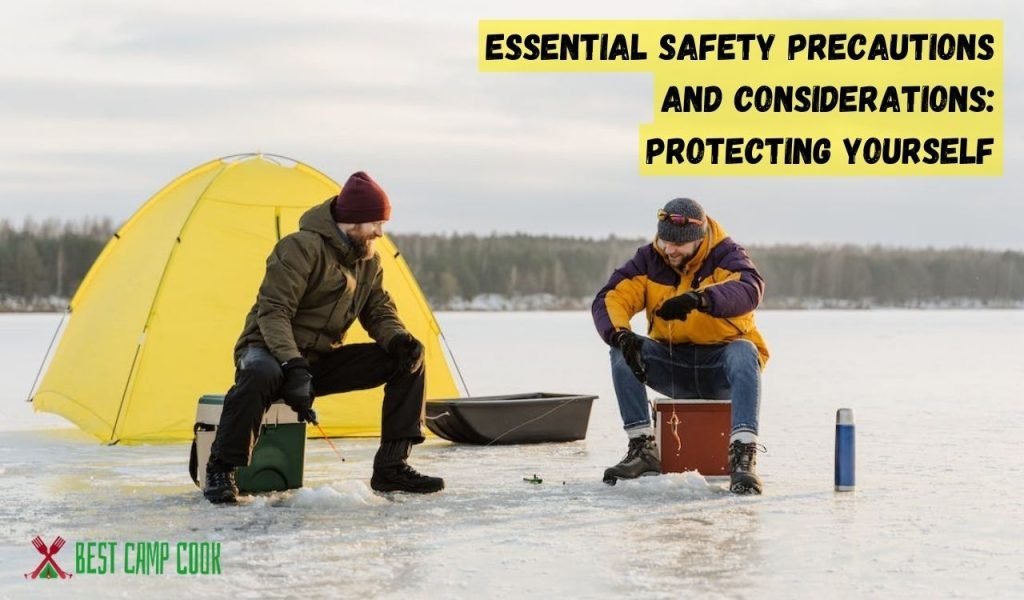
Working with dry ice requires careful attention to safety measures. Here are some essential precautions to follow:
To make the most of dry ice, keep the following considerations in mind:
Dry ice can be a better option for camping because it lasts longer and doesn’t leave a watery mess in the cooler. It keeps food colder for an extended period, making it ideal for longer trips.
The duration of dry ice in a cooler depends on various factors, but it typically lasts between 18 to 24 hours. Proper insulation and minimizing the cooler’s opening can help prolong its effectiveness.
Yes, you can put dry ice directly in a cooler for camping. However, it’s crucial to handle it with gloves and avoid airtight sealing to allow gas to escape.
The best way is to layer the bottom of the cooler with regular ice or a towel, place the dry ice on top, and then add more insulation like towels or newspaper before sealing the lid loosely.
The amount of dry ice needed depends on the cooler’s size, the duration of the trip, and the desired temperature. As a general guide, 10-20 lbs of dry ice should suffice for a medium-sized cooler.
Dry ice can potentially damage certain coolers, especially those made of thin plastic. To prevent damage, use a cooler with thick insulation, avoid airtight sealing, and place a barrier between the dry ice and the cooler’s walls.