Physical Address
304 North Cardinal St.
Dorchester Center, MA 02124
Physical Address
304 North Cardinal St.
Dorchester Center, MA 02124

Discover the ultimate solution to combat melting ice while camping: How to keep ice from melting while camping. Are you tired of dealing with watery coolers and warm drinks on your outdoor adventures?
Look no further! In this concise guide, we’ll share practical tips and tricks to ensure your ice stays frozen, allowing you to enjoy icy-cold refreshments throughout your camping trip. From smart packing techniques to clever insulation methods, we’ve got you covered.
Say goodbye to the frustration of melted ice and hello to a refreshing camping experience. Get ready to unlock the secrets of ice preservation and keep your cool in the great outdoors!
Main Summary: How to Keep Ice from Melting While Camping?
To keep ice from melting while camping, use an insulated cooler, pre-chill the cooler, pack it efficiently with ice and frozen items, avoid opening it frequently, and store it in a shaded, cool spot. For extended camping trips, consider using dry ice and replenishing ice as needed.
Camping is a delightful outdoor activity that allows us to connect with nature and escape the hustle and bustle of daily life. Whether you’re planning a weekend getaway or a week-long adventure, keeping your food and drinks fresh and chilled is crucial for a comfortable camping experience.
One of the biggest challenges faced by campers is how to prevent ice from melting too quickly. In this article, we will explore effective strategies to help you keep your ice solid for longer periods while camping.

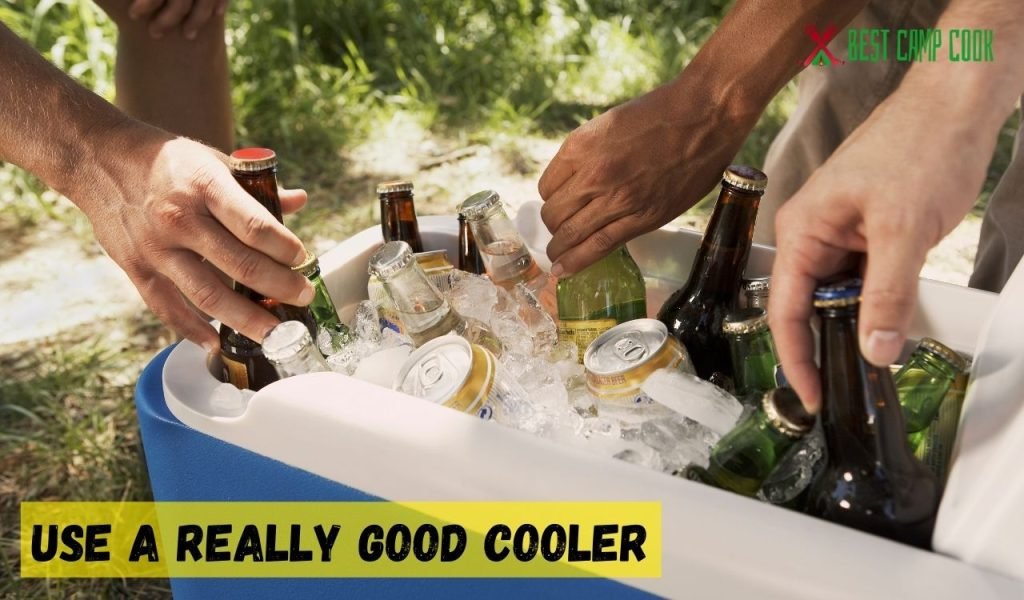
Invest in a high-quality cooler to keep your food and beverages cold for longer periods, ensuring freshness and maintaining optimal temperature during outdoor activities or trips.
When it comes to preserving ice while camping, a high-quality cooler is worth its weight in gold. Investing in a reliable cooler can make a significant difference in ice retention. Look for coolers made from sturdy materials with excellent insulation properties. Insulation is key to keeping the cold air inside and the warm air outside.
Even the best coolers can’t perform optimally if they are not properly sealed. Ensure that the lid of your cooler fits tightly, leaving no gaps for air to escape or enter. Check the rubber gasket or seal on the lid and make sure it is intact and free from any damage. A well-sealed cooler will significantly slow down the melting process and help maintain a consistent temperature inside.
Before packing your cooler with ice and perishable items, take the time to pre-cool it. Pre-cooling involves storing the cooler in a cool environment for several hours or overnight before use. This process lowers the temperature inside the cooler, enabling it to maintain the coldness more effectively once the ice is added. Simply place ice packs or a bag of ice inside the cooler and let it sit in a cool area, such as a basement or shaded spot, before your camping trip.
To optimize ice preservation in your cooler, pre-chill it before use, use block ice or reusable ice packs instead of loose ice, minimize opening the cooler frequently, and keep it in a shaded and insulated area.
When packing your cooler, consider using the layering technique to enhance ice retention. Start by placing a layer of ice at the bottom of the cooler, forming a solid foundation. Then, position your food and beverages on top of the ice, ensuring they are tightly packed.
It’s crucial to minimize the empty spaces inside the cooler as air pockets can accelerate ice melting. Repeat the layering process, adding more ice between the food and drinks. The layering technique maximizes the contact between the ice and items, promoting better cooling and slowing down the melting process.
Consider using a separate cooler specifically for your drinks. Drinks are frequently accessed, causing the cooler lid to be opened frequently, which leads to more warm air entering the cooler. By keeping the drinks in a separate cooler, you can minimize the frequency of opening the food cooler and help maintain a colder temperature inside.
When adding ice to your cooler, avoid using partially melted ice from your freezer or cooler. This partially melted ice has already lost a significant amount of its cooling power and can accelerate the melting process of the fresh ice. Instead, use fresh ice blocks or ice packs that are solid and have not started to melt.

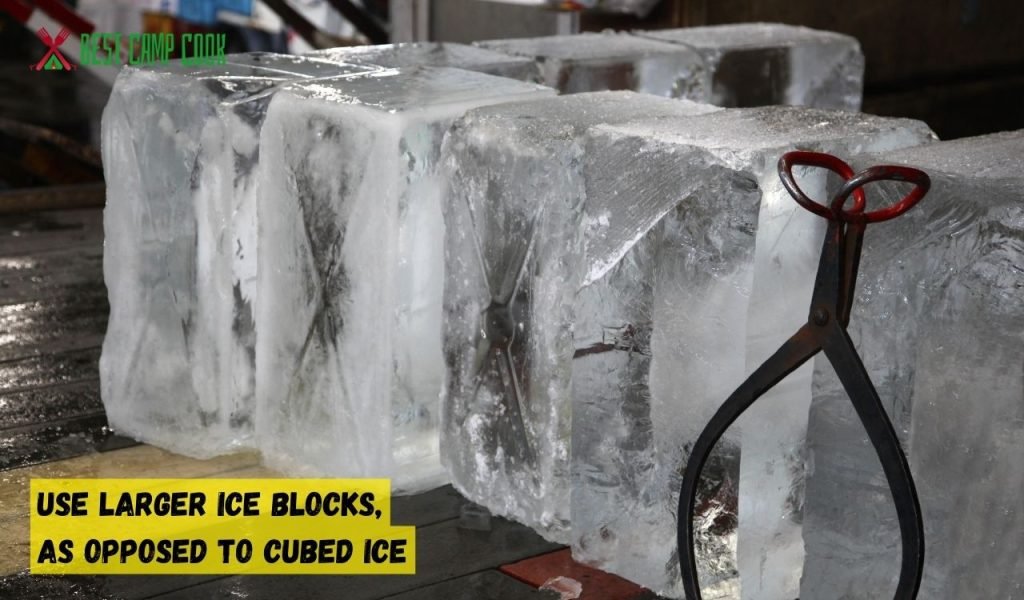
Using larger ice blocks instead of cubed ice in your cooler helps maintain a lower temperature for a longer time, as they melt more slowly and provide better overall cooling performance.
Believe it or not, the shape and size of your ice can influence its melting rate. Larger ice blocks tend to melt more slowly than smaller, cubed ice. This is because larger ice blocks have a smaller surface area relative to their volume, resulting in less exposure to the surrounding air. As a result, they melt at a slower rate, keeping your cooler colder for a longer time.
To create larger ice blocks, you can use various methods. One common approach is to freeze water in large containers, such as milk jugs or reusable water bottles. Fill the containers with water, leaving some room for expansion, and freeze them prior to your camping trip. These larger ice blocks will not only keep your cooler colder but also provide you with a source of cold water as they gradually melt.
To further enhance the ice block’s longevity, consider insulating them. Wrapping the ice blocks in a layer of aluminum foil or placing them in a thermal insulating bag can help minimize heat transfer from the surrounding environment. This additional insulation can extend the ice block’s lifespan and improve ice preservation.
When camping, one of the primary challenges in preserving ice is minimizing heat transfer. Heat can quickly infiltrate your cooler and accelerate the melting process. In this section, we will discuss effective techniques to minimize heat transfer, ensuring longer ice life and a colder camping experience.
Selecting the right location for your cooler can make a significant difference in preventing heat transfer. Look for a shady spot or set up a shelter to protect your cooler from direct sunlight. Sun exposure can rapidly heat up the cooler, causing the ice to melt more quickly. By keeping the cooler in a shaded area, you can shield it from the sun’s rays and maintain a lower temperature inside.
Another strategy to minimize heat transfer is to elevate your cooler off the ground. Direct contact with the warm ground can transfer heat to the cooler, compromising ice preservation. Placing the cooler on a sturdy table, wooden pallet, or even a couple of bricks can create a barrier between the cooler and the ground, reducing heat transfer and extending ice life.
Enhancing the insulation of your cooler is crucial for minimizing heat transfer. Consider using additional insulating materials to create a protective barrier around the cooler. One option is to wrap the cooler with a thick blanket or towel, providing an extra layer of insulation. Another approach is to place foam or inflatable insulation panels around the cooler. These materials can help prevent heat from penetrating the cooler walls and maintain a colder interior environment.
Using a reflective cover for your cooler is another effective way to reduce heat absorption. Reflective covers, made from materials like aluminum foil or specialized cooler covers, reflect sunlight and heat away from the cooler, preventing it from warming up quickly. Simply wrap the cooler or cover it with a reflective material to create a barrier against heat transfer.
In addition to using a cooler, you can explore additional cooling techniques for camping such as using insulated bags, wet towels, or evaporative cooling methods to keep food, drinks, and yourself cool in hot weather conditions.
If you’re embarking on an extended camping trip or need prolonged ice preservation, incorporating dry ice can be a game-changer. Dry ice is solid carbon dioxide that sublimates into gas, creating an extremely cold environment.
Adding dry ice to your cooler alongside regular ice can significantly extend the ice life. However, it’s essential to handle dry ice with care and follow proper safety precautions, such as using gloves and ensuring proper ventilation.
Another useful technique is to freeze water bottles and use them as additional cooling agents. Fill reusable water bottles with water, leaving some room for expansion, and freeze them before your camping trip. These frozen water bottles can serve as ice packs, keeping your cooler cold and gradually melting to provide a refreshing source of drinking water as well.

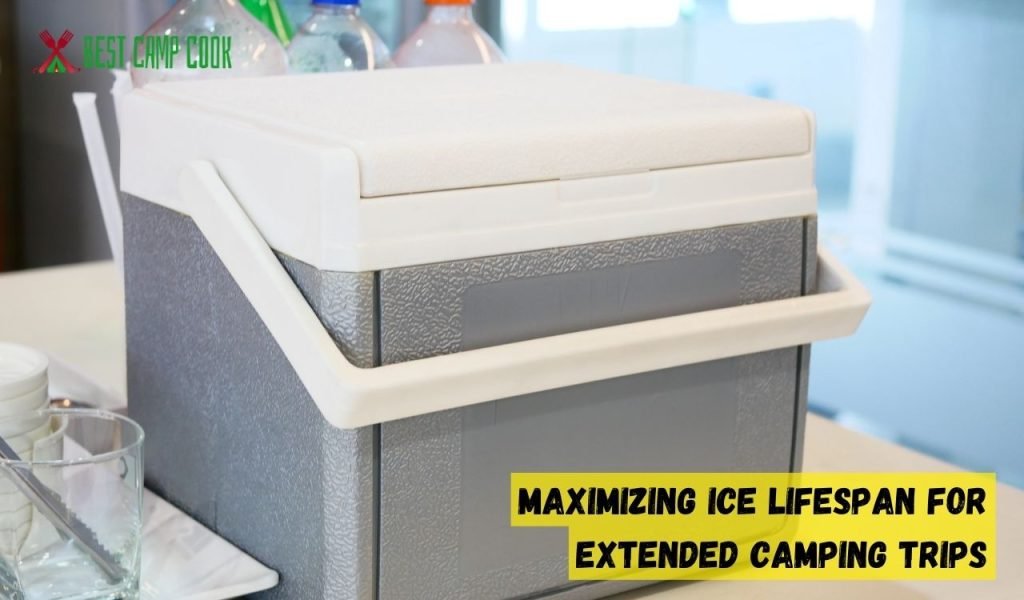
To maximize ice lifespan on extended camping trips, use a high-quality cooler, pack it efficiently with pre-chilled items, separate perishable and non-perishable items, keep the cooler in a shaded area, and consider using dry ice for longer-lasting cooling.
For extended camping trips, maximizing the lifespan of your ice becomes crucial. One effective method is to store block ice instead of cubed ice. Block ice melts at a slower rate due to its larger mass and reduced surface area.
Consider freezing large containers of water or purchasing pre-made block ice and using it in combination with regular ice. The block ice will act as a long-lasting cooling source while the regular ice serves for daily use.
To maximize ice lifespan, it’s essential to organize and separate items in your cooler. Keep perishable foods separate from items that require less cooling, such as beverages. Opening the cooler less frequently and minimizing warm air exposure can help maintain a colder environment and extend ice life.
If you’re camping for an extended period, it’s advisable to replenish ice as needed. Before the ice completely melts, consider adding fresh ice to the cooler. This continuous ice supply will help sustain a colder temperature and ensure your perishable items stay fresh.
Keeping ice from melting while camping is essential for preserving food, beverages, and maintaining a refreshing experience. In this section, we will discuss some essential strategies that will help you prevent ice from melting and extend its lifespan during your camping adventures.
Before embarking on your camping trip, take the time to pre-chill your cooler. A day or two before leaving, place some ice inside the cooler to bring down its internal temperature. This step will create a cold environment from the start and ensure that the ice you add later will last longer.
When packing your cooler, consider the organization of items inside. Start by placing a layer of ice at the bottom of the cooler to provide a solid cooling foundation. Then, arrange your perishable items, such as meats and dairy products, on top of the ice. Finally, add another layer of ice to cover the food completely. This arrangement will help maintain a colder temperature and minimize heat transfer.
Investing in a high-quality cooler is one of the best decisions you can make to keep ice from melting. Look for coolers with excellent insulation, strong seals, and thick walls. These features will help minimize heat transfer and maintain a cold environment for a longer duration.
Opening the cooler frequently allows warm air to enter and hastens the melting process. To prevent this, limit the number of times you open the cooler and minimize the time it remains open. Plan ahead and retrieve all necessary items in a single go, ensuring that the lid is tightly closed immediately after use.
Direct sunlight can significantly increase the temperature inside the cooler, causing the ice to melt more quickly. Place the cooler in a shaded area, under a tree, or use a reflective cover to shield it from the sun’s rays. By keeping the cooler away from direct sunlight, you’ll maintain a cooler temperature and extend the lifespan of your ice.
Using larger ice blocks instead of cubed ice can contribute to longer ice life. Larger ice blocks have a smaller surface area relative to their volume, which slows down the melting process. Consider freezing water in larger containers, such as gallon-sized jugs or dedicated block ice molds, to create substantial ice blocks for your cooler.
A combination of ice blocks and cubed ice can provide optimal cooling efficiency. Place the larger ice blocks at the bottom of the cooler as a base, followed by a layer of cubed ice.
Continue alternating layers until the cooler is filled, ensuring that the ice blocks are always in direct contact with the items you wish to keep cool. This layering technique maximizes the cooling effect and prolongs the ice lifespan.
Preserving ice while camping is crucial for maintaining food safety and enjoying cold beverages during your outdoor adventures. By following the essential strategies discussed in this article, such as planning ahead, optimizing your cooler, and using larger ice blocks, you can significantly extend the life of your ice and enhance your camping experience.
Remember to keep the cooler closed as much as possible, store it in a shaded area, and organize the contents thoughtfully. With these strategies in mind, you can.
The best way to store ice is to keep it in a well-insulated cooler or ice chest. Ensure that the cooler is clean and dry before adding ice. Layer the bottom of the cooler with ice blocks or cubes, followed by a layer of items you want to keep cool. Continue alternating layers of ice and items, making sure the cooler is tightly sealed to prevent warm air from entering.
Stainless steel coolers are known to provide excellent insulation and can keep ice frozen for extended periods. Their thick walls and strong seals minimize heat transfer, keeping the internal temperature colder for longer. Additionally, coolers with polyurethane insulation or vacuum insulation panels (VIPs) are also effective in preserving ice due to their high insulating capabilities.
Block ice tends to last longer than cubed or crushed ice. The larger size of block ice results in a smaller surface area exposed to the surrounding temperature, slowing down the melting process. If possible, freeze your own block ice using containers or molds, or look for commercially available block ice at grocery or convenience stores.
One effective method to slow down the melting of ice is to use ice packs or gel packs. These packs are designed to stay cold for an extended period and can be placed alongside or on top of the ice to help maintain a lower temperature. Additionally, wrapping the ice in an insulating material, such as a thick towel or newspaper, can also provide some insulation and reduce melting.
To keep ice outside without melting, find a shaded spot where the temperature is cooler. Avoid placing the ice directly in sunlight or on hot surfaces. Use an insulated cooler or container to keep the ice insulated from the external temperature.
Consider using additional insulation like blankets or towels to further minimize heat transfer. Opening the container sparingly and keeping it closed tightly when not in use will also help prevent melting.
To make ice stay frozen longer, it’s crucial to minimize heat transfer. Start by pre-chilling the cooler or container before adding ice. Use larger ice blocks instead of smaller cubes to reduce the surface area exposed to heat.
Layer the ice with items you want to keep cool, ensuring the ice is in direct contact with them. Keep the container well-sealed and avoid opening it frequently to maintain a colder internal temperature.
The duration a bag of ice stays frozen depends on various factors, such as ambient temperature, insulation, and the quality of the ice itself. In general, a bag of ice can stay frozen for approximately 24 to 48 hours in a well-insulated cooler. However, factors like frequent opening of the cooler, exposure to warm air, and higher ambient temperatures can shorten the ice’s lifespan.